A while back I pinned something on Pinterest thinking I could use it as a christmas gift idea. Although I didn’t use it as a gift, while scrolling through my pins I thought, “I could change it a little and use it in the house”. So that is what I did! Here’s the pin that inspired my project:
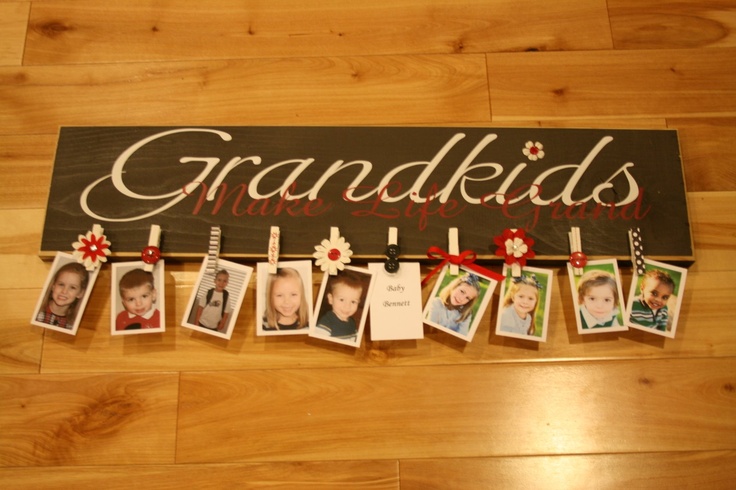
Isn’t it adorable?? Obviously, I didn’t want mine to say “Grandparents….” and I wanted to change the size up a bit. After browsing the wooden craft aisle at JoAnn’s and choosing some acrylic paint colors this is what I came home with:

The idea was to put our last name on the plaque using the small clothespins to hold the photos. The colors I chose were black for my plaque, metallic silver for the letters and dove grey for the clothespins. I also grabbed some silver glitter acrylic paint thinking I’d put a coat over the back to give it a little sparkle.
I grabbed my foam brushed and got busy! Here are a few problems I ran in to:
- I had to use A LOT of coats to get the acrylic paint on the letters to look genuinely metallic.
- The grey I’d purchased for the clothespins looked more blue than grey when held up to the black and metallic. (I decided to let this detail go.)
- The glitter paint was REALLY thick! I had thought that by doing one coat the glitter would add more of a sheen, than make a glittery plaque. I am so grateful I tested the glitter on the back before I put it on the front! (I ended up using glitter spray to get the sheen I was looking for.)
After painting several coats and letting them all dry I used some Elmer’s Glue with a foam brush to glue my plaque together. If you’re going to do this project use a foam brush to apply Elmer’s Glue! I didn’t do that with my first few letters thinking I could wipe up the glue before it dried, but it left a “trail” behind. Not a big deal for me since I had the layer of glitter spray, and it blended in. I could see it being a problem if I’d not had the sheen of the glitter spray. Now my plaque was complete and beautiful!

It’s a bit difficult to see the difference in paint colors in this photo, but I’m happy with the overall results. Next, and last step was to hang my masterpiece.
I hade some cute ribbon I wanted to hang my plaque with, so I pulled our my ribbon, used my best bow tieing skills, and grabbed the hubby’s staple gun and was ready to hang (and admire) my work… It wasn’t that easy though, and it didn’t work out for me! 😦 No matter now I tied the ribbon the plaque would not sit flat on the wall. It would hang forward, sometimes leaving enough space for me to put my whole hand back there! Here’s a picture of how cute it would have been (and one of the tieing versions I tried) if I had been able to solve this “hanging forward” problem:

I finally gave up on the ribbon. I was honestly so frustrated I was willing to let the whole thing gather dust in the garage! I really like my plaque though, so I decided to use some command strips and just hang the thing. LOL I’d initially thought to hang the plaque in my living room (hence the burgundy paint color in the background of the last pic), but decided the boys’ room was in need of some wall decor. I went into the hubby’s tool bag, again (he loves it when I do that!) for the leveler, put some pictures in my clips and got it on the wall.

I think the colors go really well with the blue of the boys’ wall :)I’m happy with my results, despite not all things going to plan. Have you ever tried a project and through the process had it change from what you’d initially planned? This happens to me all. the. time! Maybe that’s the price we pay for possessing so much creativity lol. I hope you all liked my project and make something of your own today.
