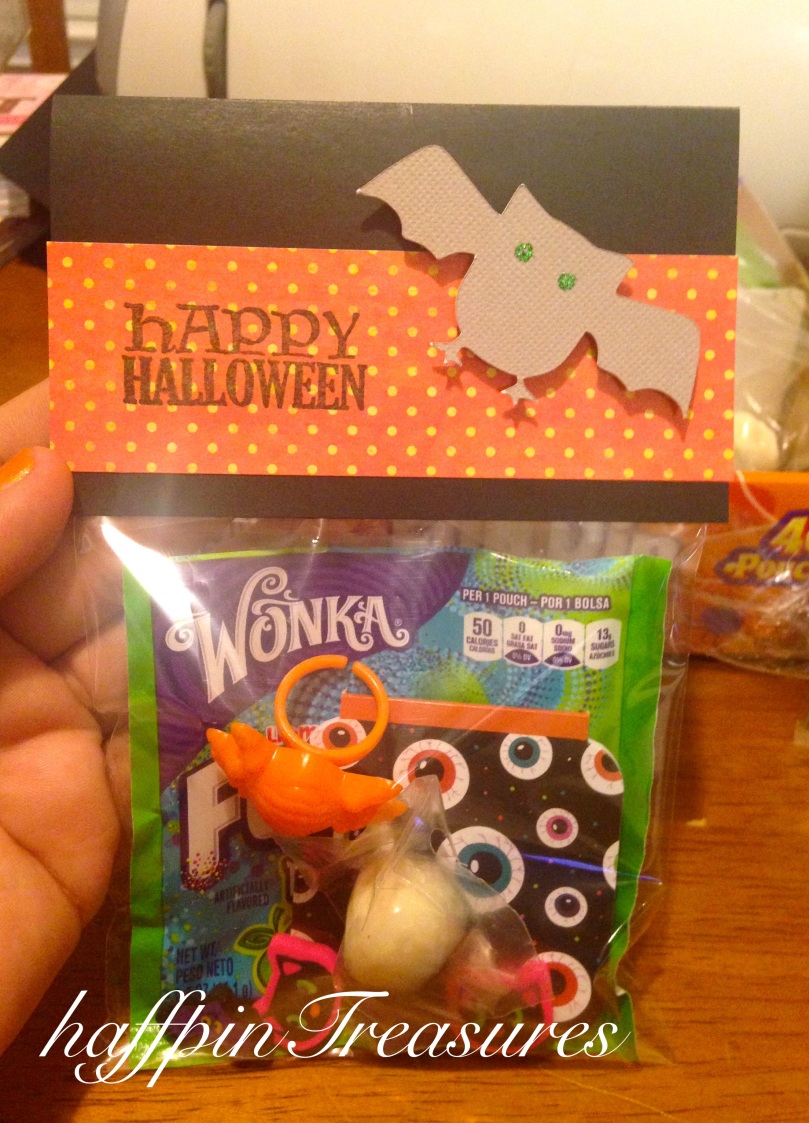
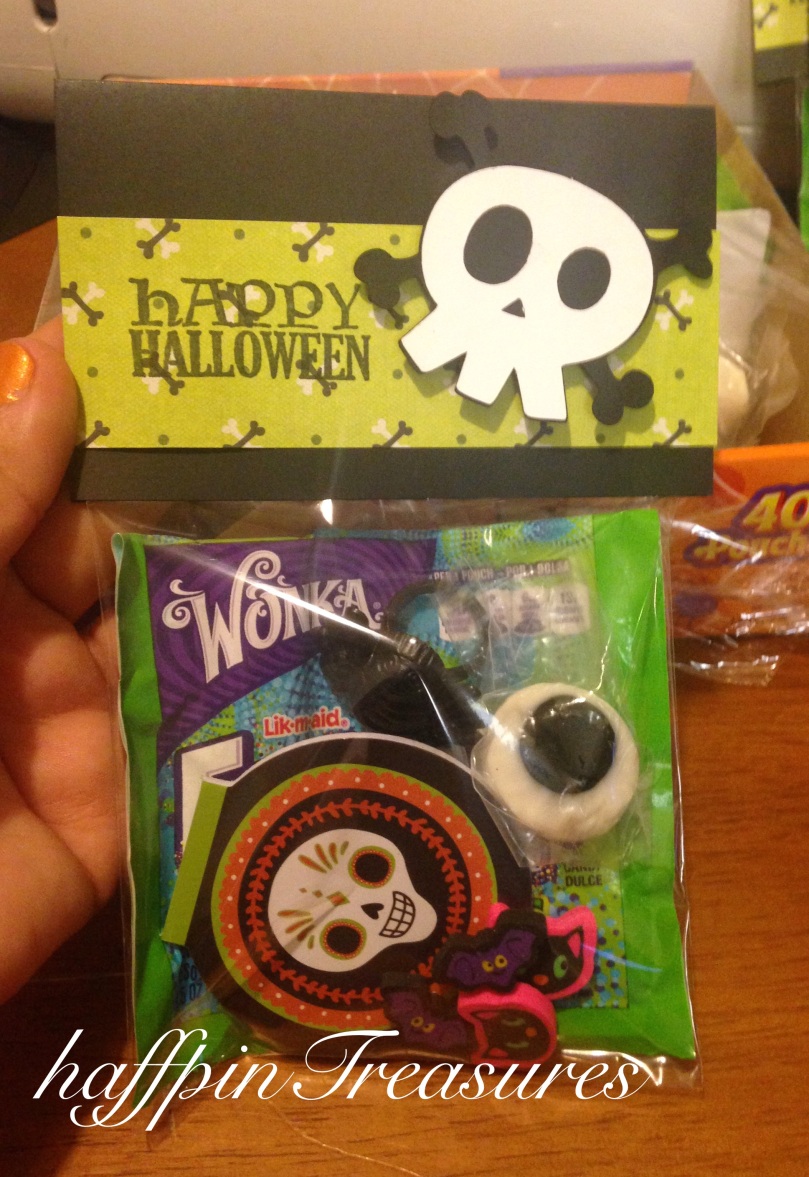
Hey there, blog friends! I wanted to do a quick post showing you the goodies I put together for my daughter’s class. I’ve done these for various occasions time and time again, and I always love them!
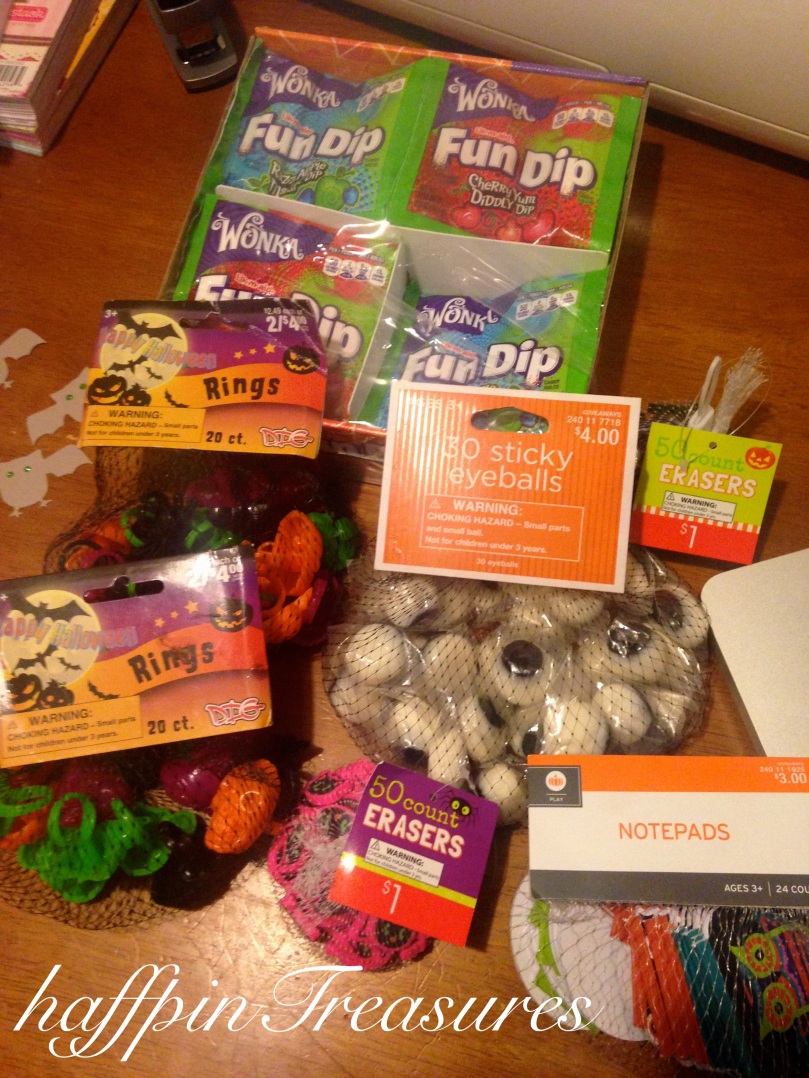
First step is to pull out the halloween storage bins and docarate the house!… Ok, maybe you don’t have to decorate, but I do. I absolutely love every excuse to decorate. But I also like saving money. So every year I raid the clearance racks the day (or sometimes days) after halloween for those adorable “goodies” at a price I like. Then they get put away in the storage bins until next year. So, I have to pull out the bins and gather everything together. The only thing I do buy “fresh” is the candy, of course.
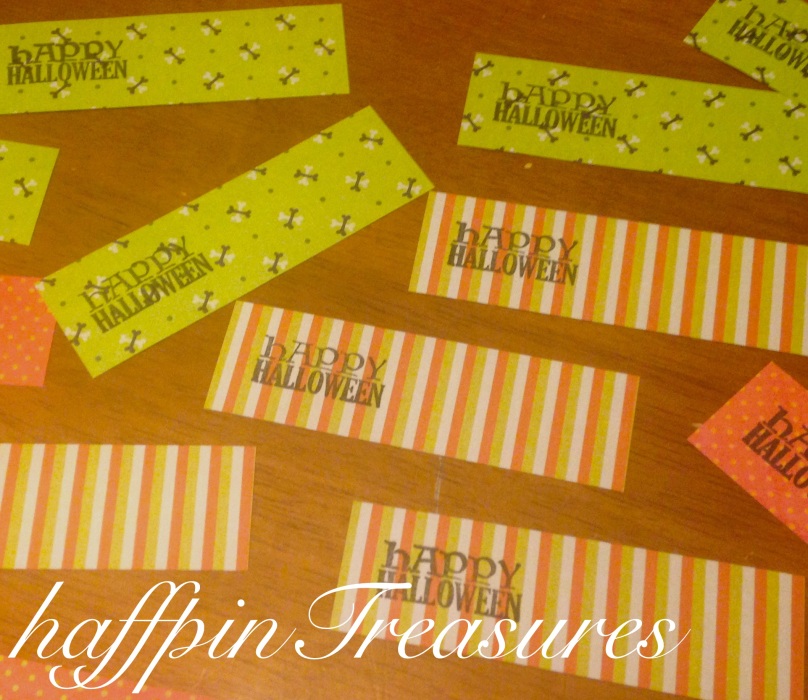
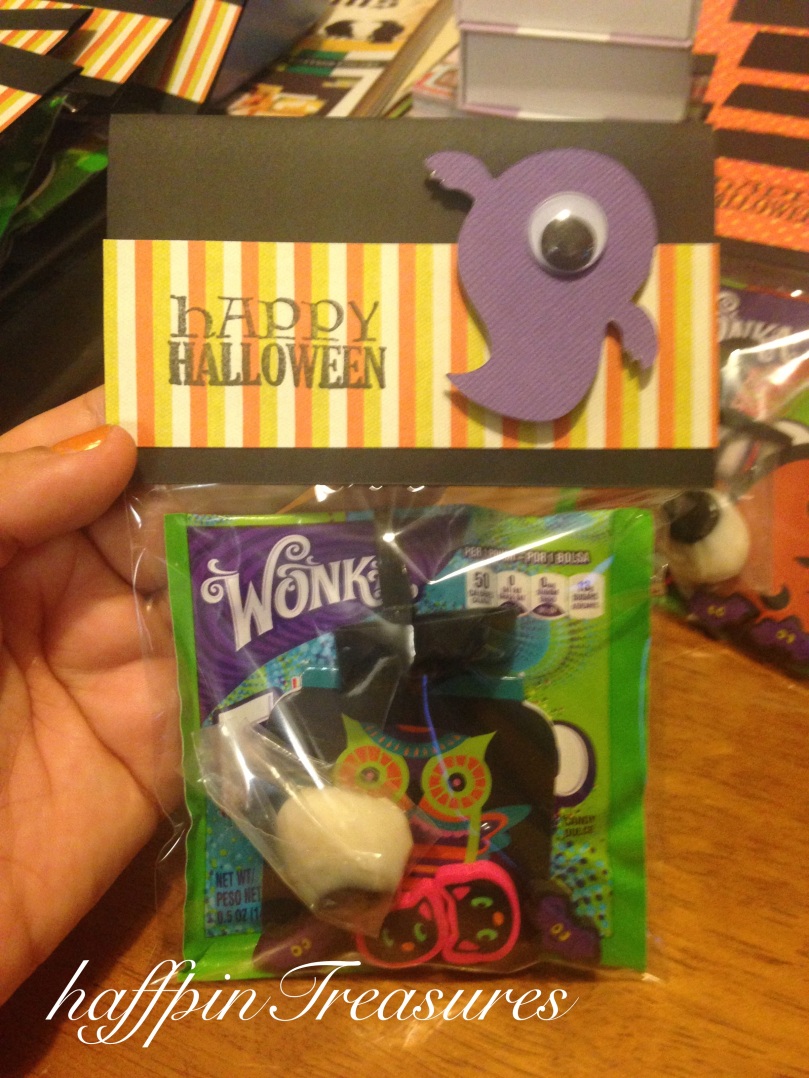
I cut my toppers with a black card stock base measured at 5″x4.5″. I then folded it at 2 3/4′, and stapled it on top of each filled bag. I then cut strips of paper from K & Company Halloween and Ghostly Greetings stacks. The stips were cut at 4″x1 1/2″ and stamped with Fiskars Halloween Night clear stamp set.
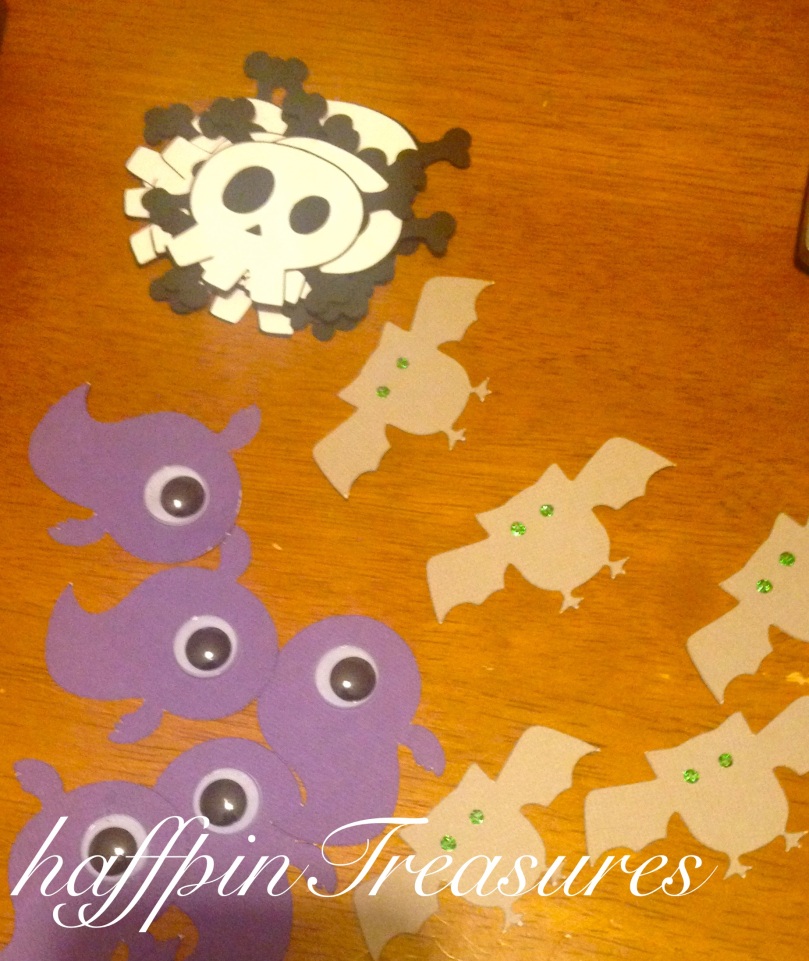
After attaching the strips to the bag topper with my ATG gun I got busy with my cricut. I used the Craft Room to cut from a the skull and bones, ghosts, and bats. I messed with the sizing quite a bit and don’t remember the actual dimensions (sorry!), but the cuts came from Mini Monsters cart and Craft Room Exclusive. I embellised the ghosts with a white google eye and the bats with some green stickles for eyes.
All that was left to do was add the cuts to the goodie bags. I used some dimensionals to give the bags just a little more pizzazz, and because I love dimensionals! lol I made a total of 24 bags, with 3 different designs.
